Professional Guidance for a Seamless Setup
Professional Guidance for a Seamless Setup

Professional Guidance for a Seamless Setup
Professional Guidance for a Seamless Setup


Thank you for choosing CleaDeep. This guide provides everything you need to know to install your range hood correctly—whether you're working with a professional or installing it yourself. Proper installation ensures optimal performance, long-term reliability, and clean air in your kitchen every day.
We recommend professional installation for the best results. CleaDeep offers two service options:
• Basic Installation – $199 (new setup only)
• Full Installation – $299 (includes old hood removal)
CleaDeep IQV P1 range hoods are compatible with the following installation methods:
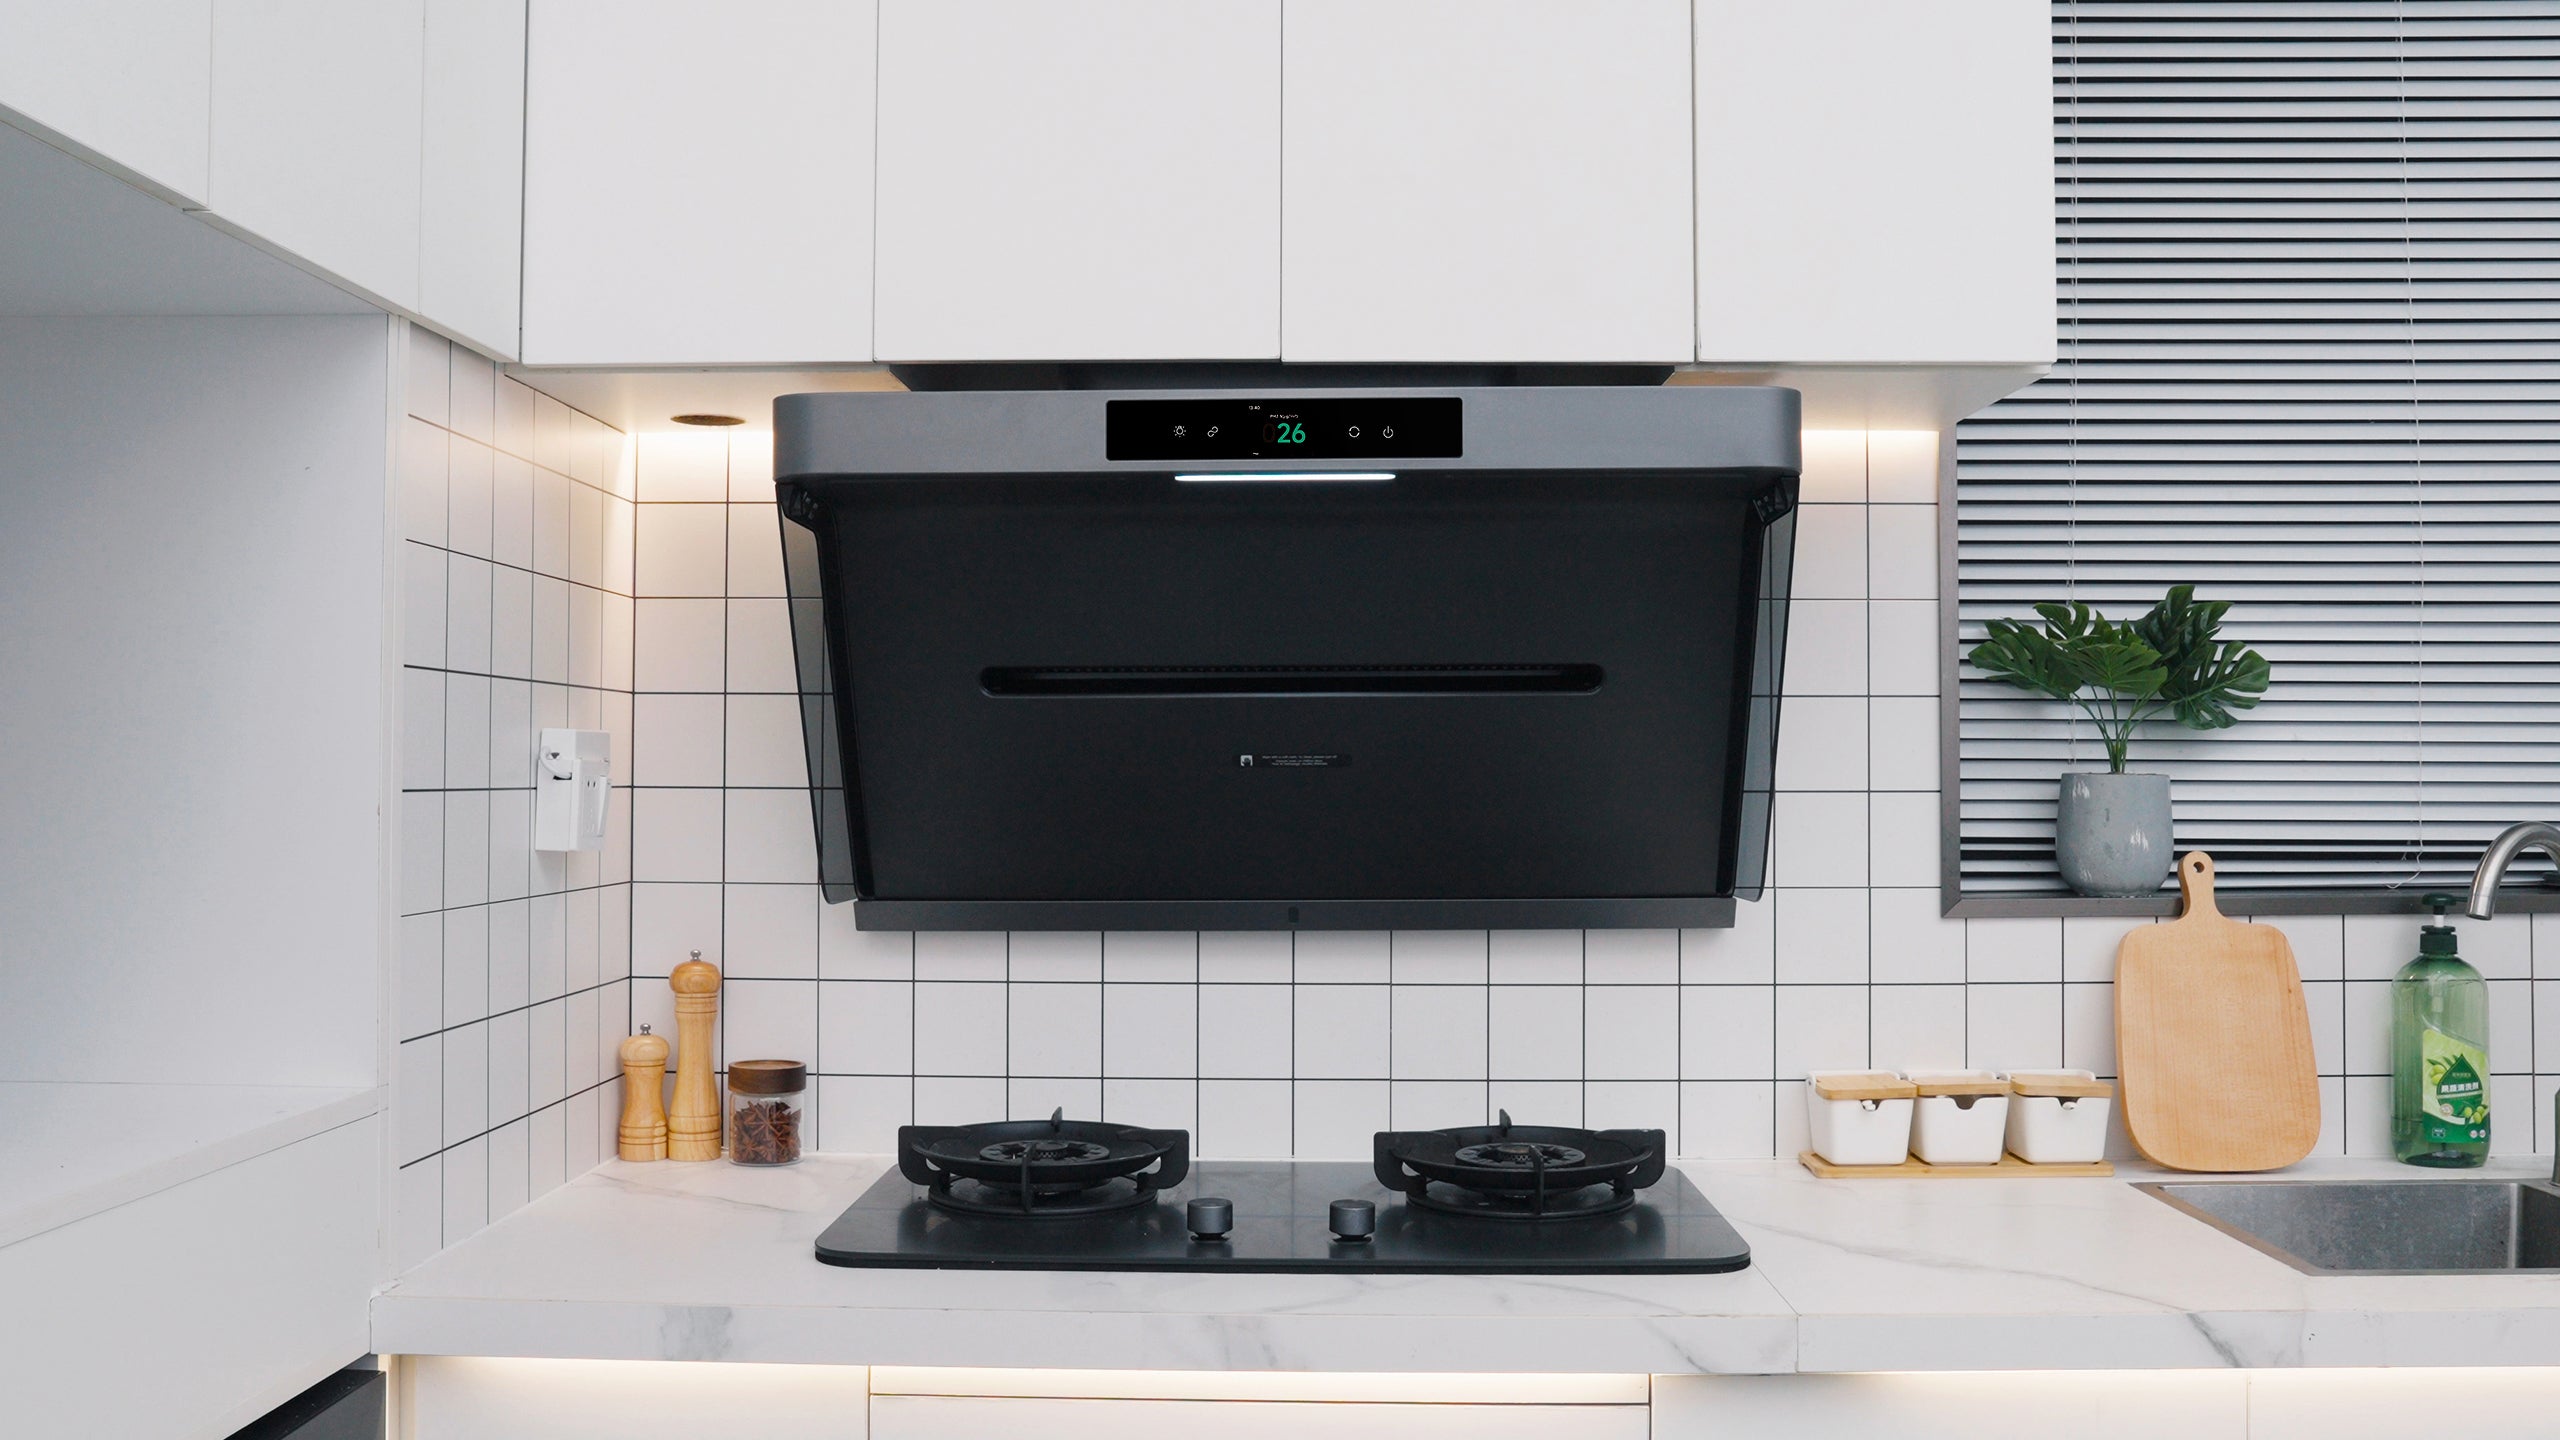
Installation height must be between 690–740 mm (27.17–29.13 inches) from the cooktop to the hood bottom.

For safety and stability, CleaDeep range hoods must not be installed on the following wall types:
Hollow walls (e.g., perforated bricks or non-solid blocks)
Plastic foam or insulation walls
Suspended partition walls without structural reinforcement
Glass surfaces
Windows or window frames
Wooden board walls (including plywood or paneling without support)
These surfaces cannot provide sufficient load-bearing support, and installing the product on them may result in equipment damage or personal injury.
If your kitchen includes any of these wall types, please consult with our support team before proceeding.

If you plan to install the hood yourself, ensure you have the following tools:
• Power drill with bits (wood, tile, concrete) & cordless screwdriver
• Tape measure, level, pencil or marker
• Phillips & flathead screwdrivers, utility knife, scissors
• Caulking gun with sealant, foil tape or duct clamps
• Voltage tester & duct adapter (if needed)
• Safety gloves, protective eyewear
• Ladder or step stool
• Disposable dust sheet (to protect kitchen surfaces)

Main Components
Mounting Hardware & Accessories
Tip: Before installation, please verify all items are included using this checklist. If anything is missing, contact CleaDeep support for immediate assistance.


Use provided duct collar as a template for duct hole (Ø160 mm)
Use provided duct collar as a template for duct hole (Ø160 mm)
1. Wall Photo
A clear photo of the wall where you plan to install the range hood.
Please make sure to include the entire area above the cooktop.
2. Wall Material Description
Let us know the material of your wall: concrete, brick, wood board, glass, hollow wall, etc.
If you're not sure, describe how it sounds when you knock on it—solid or hollow.
3. Power Outlet Position
Is there a 110V power outlet near the installation area?
Please send a photo of its position relative to the cooking area.
4. Vent Hole Availability
Do you have an existing vent hole? If yes, show us its location and size.
If not, let us know your plan for ventilation.
5. Ceiling Height Check
Measure the distance from the cooktop to the ceiling.
This helps us determine whether the space meets the installation height requirements.
6. Surrounding Structure
If your range hood will be installed between cabinets, let us know the width between them.
If it will be installed on an open wall, share the full wall width.
Once we receive this information, our team will assess it and let you know whether your kitchen is installation-ready.
Please email the details to sales@cleadeep.com and we’ll get back to you as soon as possible.

Yes. We provide a detailed installation manual and step-by-step installation videos to guide you through the process. However, since this will not be installed by a contractor recommended by CleaDeep, customers will be responsible for any damages or problems caused by/during installation.
Yes, We offer range hood installation services and supply range hood installation hardware.
You can choose from two service options: Basic Installation ($199) or Full Installation ($299, which includes removal of your old unit).
You can choose from two convenient installation options:
Basic Installation ($199): Our professionals will install your new unit for a smooth and efficient setup.
Full Installation ($299): This includes everything in the Basic package, plus removal of your old unit.
Prefer to do it yourself? No problem! We also provide a detailed, step-by-step DIY installation guide to make setup easy and hassle-free.
CleaDeep range hoods are easy to install! We provide detailed instructions in the user manual included with your range hood. You can also find helpful resources on our blog and installation tutorials on our YouTube channel. Additionally, we offer professional installation services to ensure a hassle-free experience.
Before starting the installation, unbox your range hood and verify that all components are included. Once confirmed, follow the step-by-step instructions in the user manual for a smooth installation. Then, connect it to a power source and test its functions to ensure everything is working correctly. If you need additional guidance, visit our blog for helpful tips or watch our detailed installation tutorials on YouTube.
You can contact our customer service for assistance. Please provide the following details to help determine if installation is suitable:
Front view image or video of the cabinet.
Dimensions of the previous range hood or stove.
(If available) Feedback on the depth of the upper cabinet.
(If available) Diameter of the existing duct.
Reserve a duct with a Ø160 mm (6.30") diameter at the air outlet for installing the exhaust pipe.
Use the standard three-layer thickened pipe 150 mm (5.91") when possible.
Ensure the pipe has no bulges and the joints are tightly sealed.
The total pipe length should not exceed 3m (118"), and it should not be bent more than twice.
If a replacement is not possible and the existing pipe is less than 150mm (5.91") in diameter, a reducer ring may be used, ensuring the connection is well sealed.
The recommended vertical distance between the cooktop surface and the bottom of the range hood is 690–740 mm (27.1"–29.13"). Installing it within this range ensures optimal smoke and odor extraction.
- Reserve a cabinet widthmust be ≥900 mm (35.43") to accommodate the hood’s front panel.
- Leave a bottom cabinet clearance of ≥430 mm (W) × ≥330 mm (D) (16.93" (W) × ≥12.99" (D)) for proper hood insertion.
- A depth of 450 mm (17.72") is recommended for easier installation and cable routing.
- The cabinet back panel must include a service opening of 430 mm (W) × 460 mm (H) (16.93" (W) × 18.11" (H)) for duct connection and maintenance access.
Cleadeep IQV Hood requires a 110V/50Hz power supply with a minimum 10A circuit. It should be hardwired or plugged into a grounded outlet.
Yes, a range hood can be installed on a tile wall. However, proper drilling and secure mounting are required. It’s recommended to use appropriate anchors and screws to ensure stability.
Yes. For wall-mounted installations, ensure the total height from cooktop to duct outlet is 1462–1512 mm (57.56"–59.49 "), with the hood height itself being 977 mm (38.46 inches).
The service costs $100. It includes a full inspection of the installation environment, measurement of required dimensions, evaluation of the exhaust system, and checks for power and gas supply.
Our technician will check the following on-site:
Once you request the ON-SITE ASSESSMENT service, we will assign a technician who will contact you directly to schedule the visit at your convenience.
No. The $100 is a fixed fee for the inspection service only. Installation is not included unless separately ordered. If you need installation along with inspection, please contact us to customize your service package.
Yes. As long as the measurements are compatible, you may use your own ducting or purchase ours directly on our website.
Yes. If your ductwork is damaged or needs replacement, we can provide that service for an additional fee. Please inform the technician during the inspection.
Yes. You may cancel or reschedule your appointment, but please notify us at least 24 hours in advance.
Cancellations made less than 24 hours before the scheduled time may not be eligible for a refund.
Our service is available within the 48 contiguous states of the United States.
If you’re unsure whether your location qualifies, feel free to contact our customer support with your ZIP code for confirmation.
We highly recommend booking the inspection service or carefully reviewing our installation guide before purchasing a CleaDeep range hood.
CleaDeep is designed to deliver maximum purification only when installed under proper ventilation conditions and at the correct height relative to your cooktop.
An inspection helps avoid issues such as improper installation, the need for a second visit, or return shipping costs due to an unsuitable environment.